Chargers Operating Guide
How to Open Camera on MacBook – Step by Step Guide
How to Open Camera on MacBook
If you’re new to using a MacBook, you may be wondering how to open the camera. Fortunately, it’s a simple process that can be done in just a few steps. Follow these instructions to start using your MacBook camera today.

Step 1: Open the Applications Folder
The first step to opening the camera on your MacBook is to open the Applications folder. You can do this by clicking on the Finder icon in your dock and then selecting Applications from the left-hand menu.
Step 2: Open the Photo Booth App
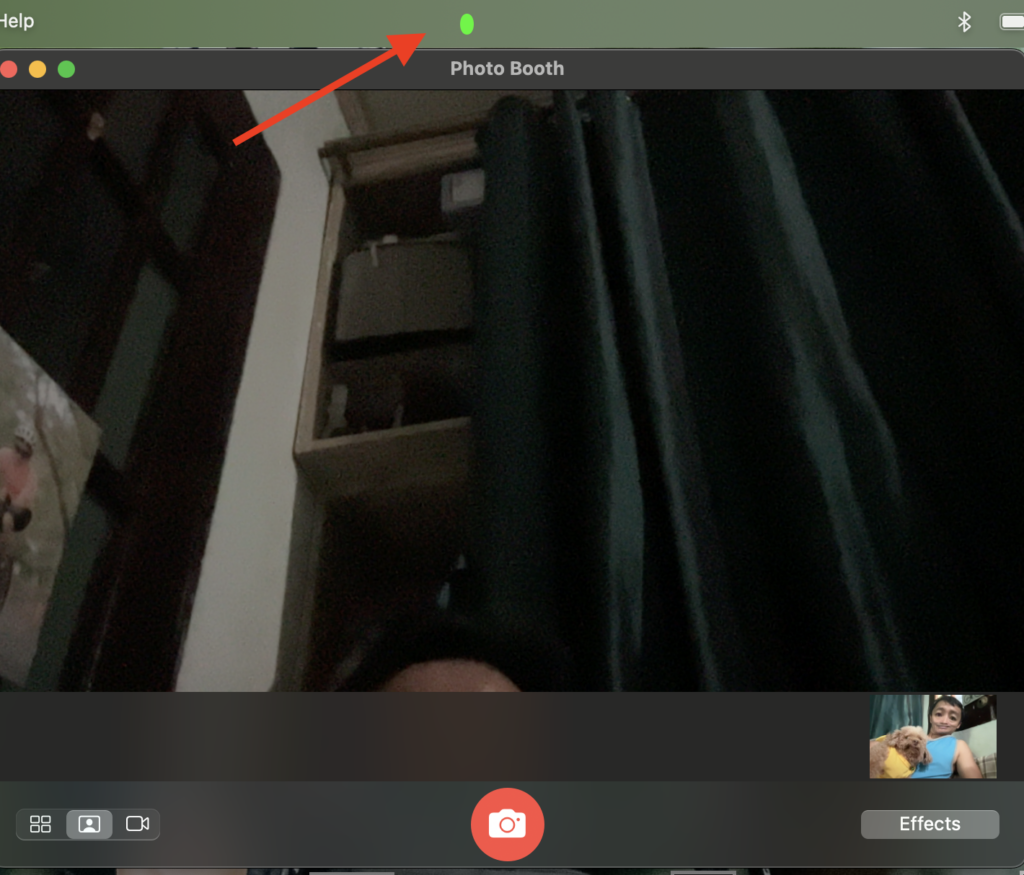
Once you have the Applications folder open, you should see an app called Photo Booth. This is the app you’ll use to access your MacBook camera. Double-click on the Photo Booth app to open it.

Step 3: Start Using Your Camera
With the Photo Booth app open, you should see yourself on the screen. If you don’t see yourself, make sure your camera is turned on. You can now start using your camera to take photos or record videos.
That’s all there is to it! With these simple steps, you can start using your MacBook camera today.

