MacBook Operating Guide
How to Take a Screenshot on Mac

Method 2: Capture a Portion of the Screen
If you want to capture a portion of the screen, follow these steps:
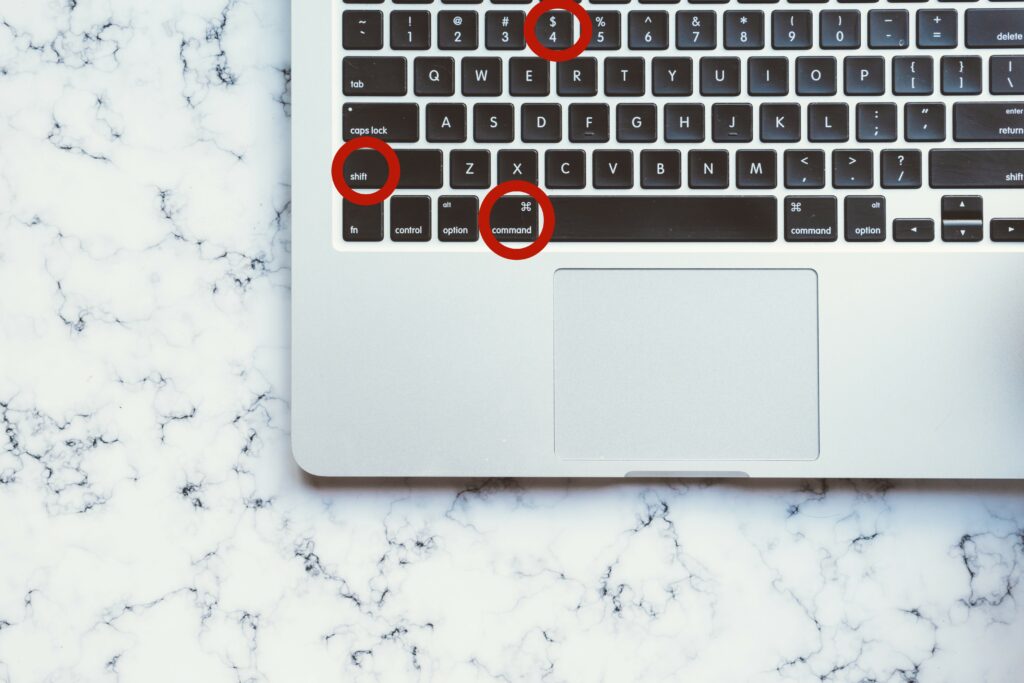
1. Press Command + Shift + 4 at the same time.
2. Your cursor will turn into a crosshair.
3. Click and drag the crosshair to select the portion of the screen you want to capture.
4. Release the mouse button to take the screenshot.
The screenshot will be saved as a PNG file on your desktop.
You can also capture a portion of the screen and copy it to the clipboard by pressing Command + Control + Shift + 4.
Method 3: Capture a Window or Menu
If you want to capture a window or menu, follow these steps:
1. Press Command + Shift + 4 at the same time.
2. Your cursor will turn into a crosshair.
3. Press the Spacebar.
4. Your cursor will turn into a camera icon.
5. Click on the window or menu you want to capture.
6. The screenshot will be saved as a PNG file on your desktop.
You can also capture a window or menu and copy it to the clipboard by pressing Command + Control + Shift + 4 and then pressing the Spacebar.

Method 4: Capture a Touch Bar
If you have a MacBook Pro with a Touch Bar, you can capture it by following these steps:
1. Press Command + Shift + 6 at the same time.
2. The screenshot will be saved as a PNG file on your desktop.

That’s it! Now you know how to take a screenshot on Mac using different methods. Choose the one that works best for you and start capturing your screen.

